Sunny Pettis Lutz made her own gorgeous cordwood floor and she was kind enough to share just how she did it!
These floors are so beautiful, you will be very tempted to try this out after you read how easy it truly is to construct!
Sunny lives in Arizona and for her floor she used Shaggy Bark Juniper and Alligator Bark Juniper. *You are able to use any type of wood you would like.
Run all the piece through a chop saw set at 1″. Sand both sides using a belt sander.
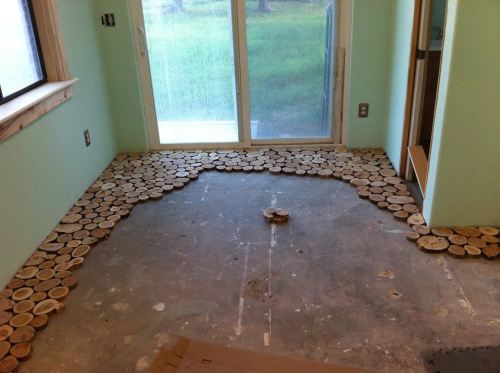
Prepare your surface by sweeping and mopping it clean. As you will be gluing the pieces to the surface. Here, the wood pieces are being glued directly to the concrete slab.

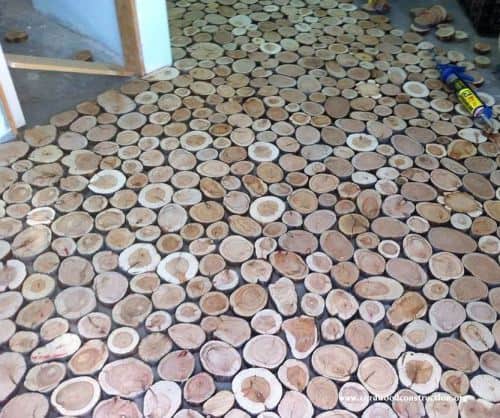
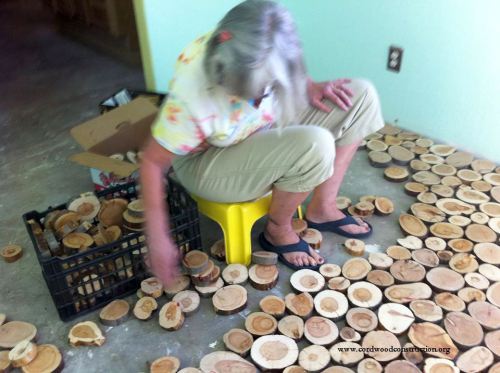
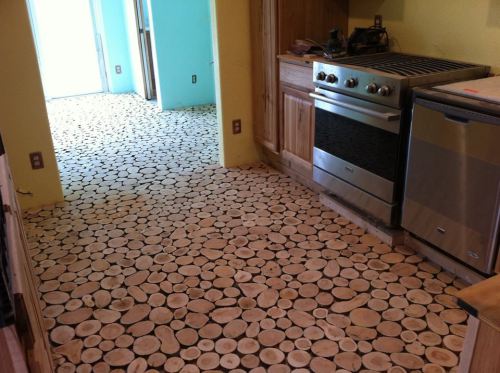
Begin to layout the wood pieces on the floor. Try to get them as close as possible. Working in 2′ sections seems best.
Glue the pieces down and firmly tamp them. For this particular project, Loctite PL Premium Construction Adhesive was used.
Apply a light coat of polyurethane to the surface of the wood pieces (this is to prevent the grout from adhering to the tops).
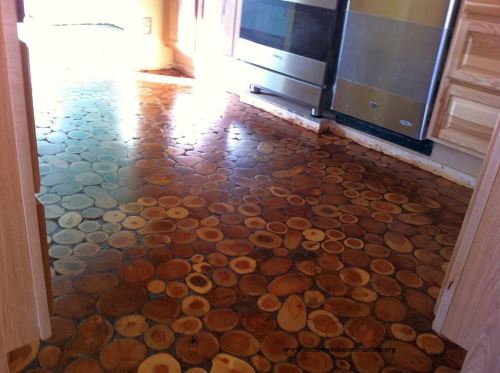
Grout the spaces between the slices with a mix of 80% tile grout, 20% sawdust. Your local flooring store will have many options.
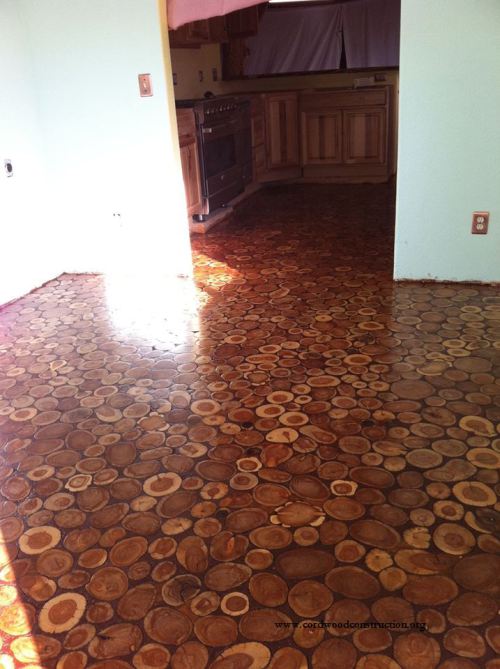
Apply 2-3 coats of polyurethane to finish.
Here is a detailed list on how to create this awesome floor!
Cordwood Flooring Instructions by Sunny Pettis Lutz & Tony.
- There are many ways to acquire the type of wood you desire for your flooring. You can cut the wood yourself, hire someone or simply purchase the wood outright. Just make sure you cut the pieces into a manageable size so you are able to work with them in order to get your final cut of 1″ discs.
- Run each piece through the chop saw set at 1″.
- Sort ‘discs’ for usable ones vs bad ones.
- Remove any loose bark either by hand using a chisel or scraper.
- Prepare floor surface by sweeping and mopping. We are gluing the slices directly onto our concrete slab.
- Sand both sides using a belt sander.
- Begin to layout disks on the floor. Try to get them as close as possible. Work in 2′ sections.
- Glue the layout you have chosen. We’re using Loctite PL Premium Construction Adhesive.
- Repeat.
- Sand using a belt sander until everything is smooth and level.
- Use shop vac to cleanup all dust and debris.
- Apply a light coat of polyurethane to the surface of the disks. (this is to prevent the grout from adhering to the faces).
- Grout the spaces with a mix of 80% tile grout, 20% sawdust.
- Apply 2-3 coats of polyurethane to finish.

Source : cordwoodconstruction