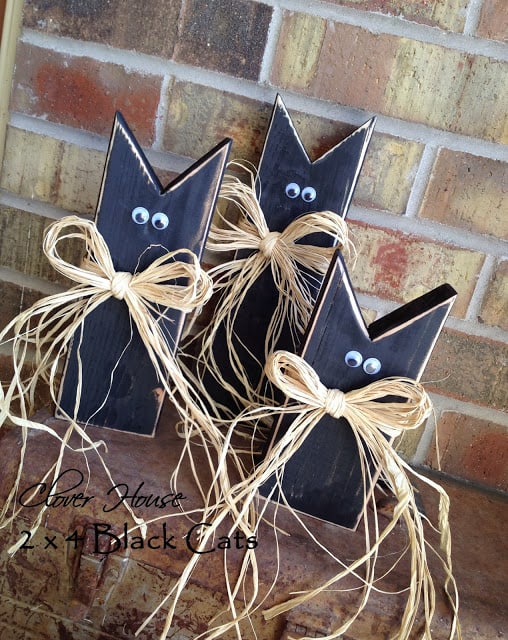
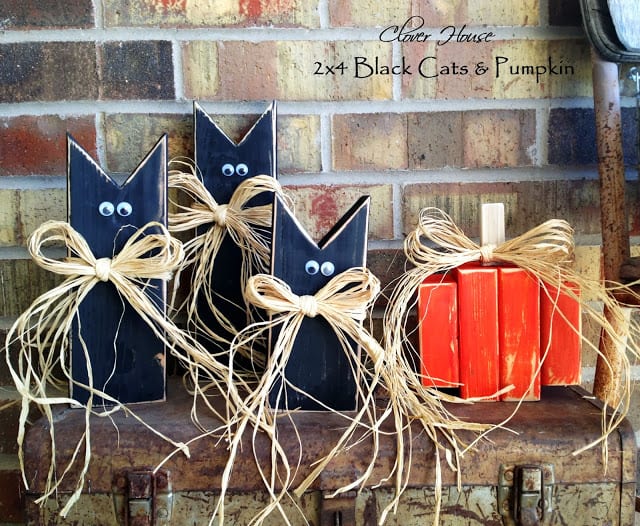
These super cool, super easy to make 2×4 black cats and pumpkins will make a perfect addition to your holiday decor this Halloween!
Check out the step by step instructions below! These would make great gifts too! They are awesome and easy sellers at craft fairs also!

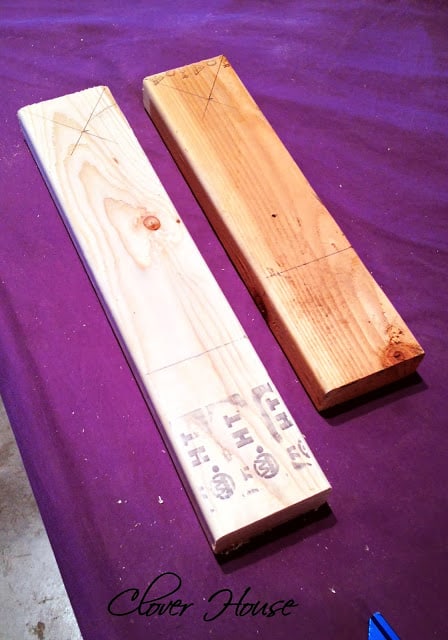
First mark your cuts with a pencil and cut to length. (I used our chop saw to cut to length) Mine are 12″, 10″ and 8″ tall. The ears are 2″ tall. Measure 2″ down from top middle and made a mark, use a ruler and make a line from each corner to the 2″ mark.
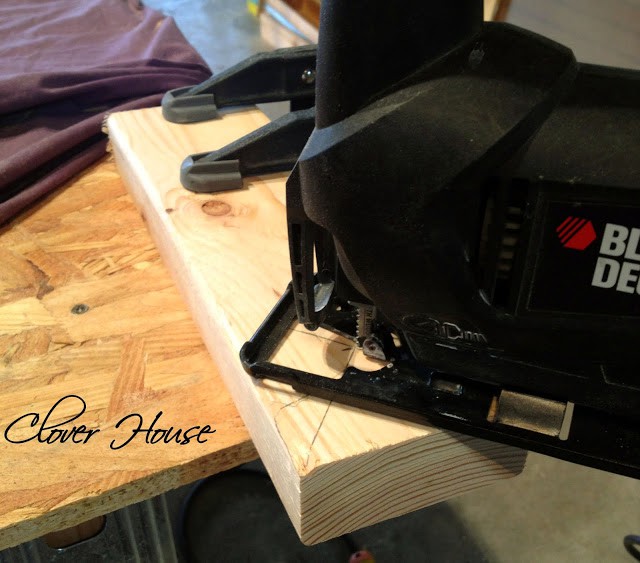
Next use the jig saw to cut out the ears. Clamp the 2×4 to the table and then got to cutting. Be sure to wear your safety glasses!
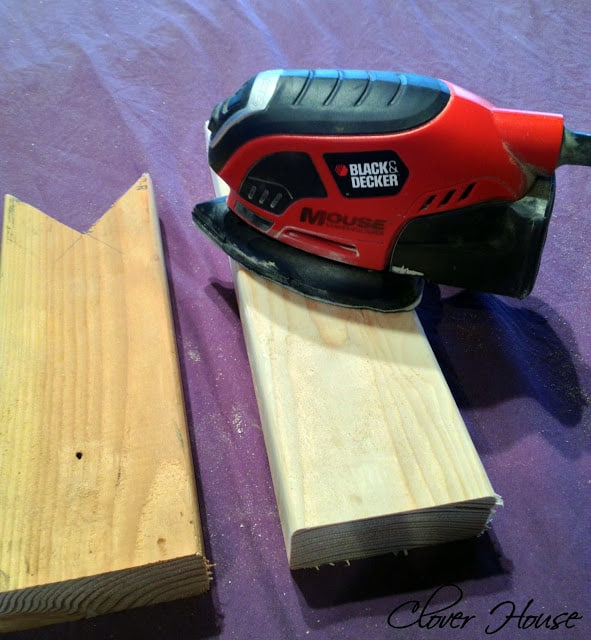
Next smooth out all the rough edges using the mouse sander and some medium grit paper.
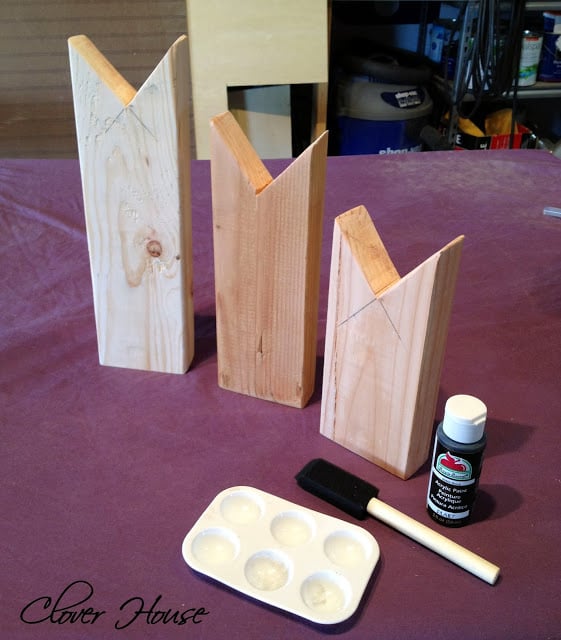
Now for painting. Use black acrylic paint and a sponge brush to paint them. Paint all sides except the bottom and let them dry.
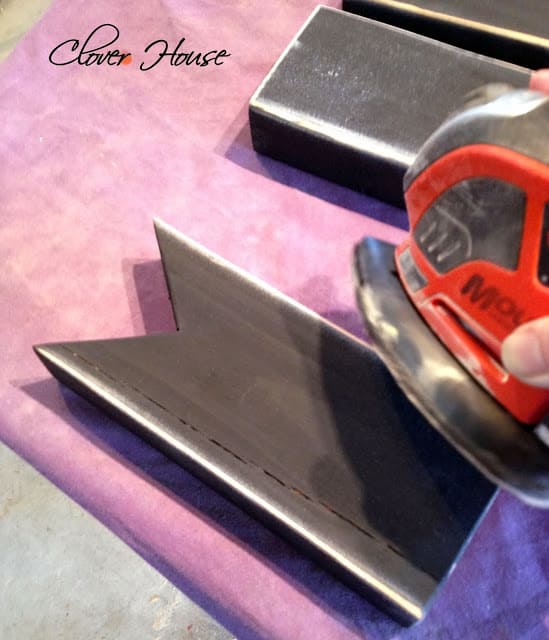
Use the mouse sander again to distress the front edges only. Lastly tie a raffia bow around the neck and add googly eyes.
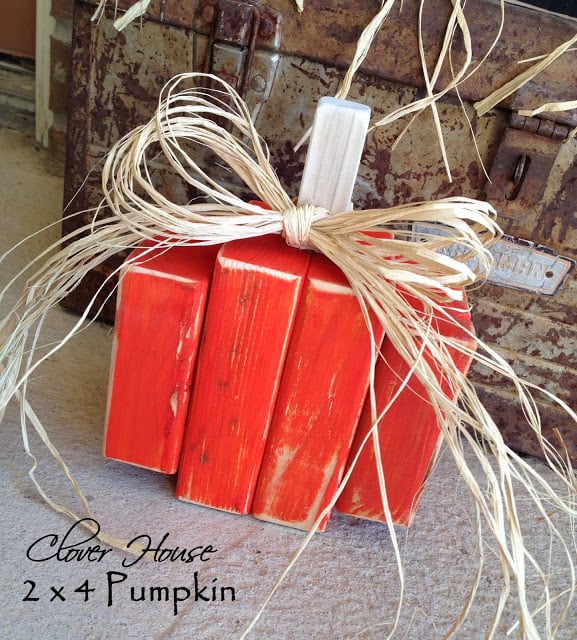
Now for the Pumpkin!
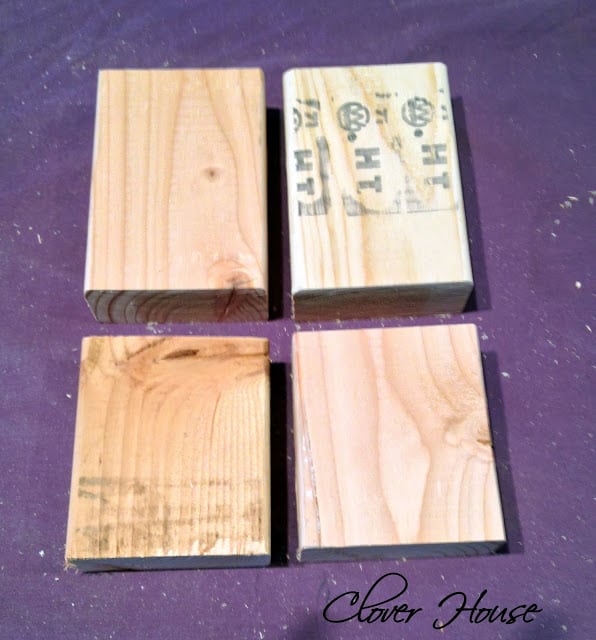
Cut my 2 x 4s at 5″ and 4″ (2 of each size). Use the mouse sander to smooth all the rough edges.
Next, use a hot glue gun and glue the pieces of wood together. The two 5″ pieces go together in the middle and one 4″ piece goes on either side.
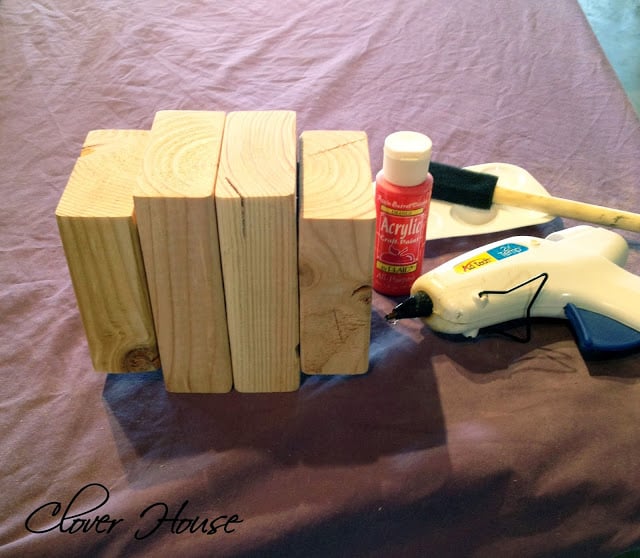
Next, using some orange acrylic paint and a sponge, brush them with a good coat of paint. All sides except the bottom.
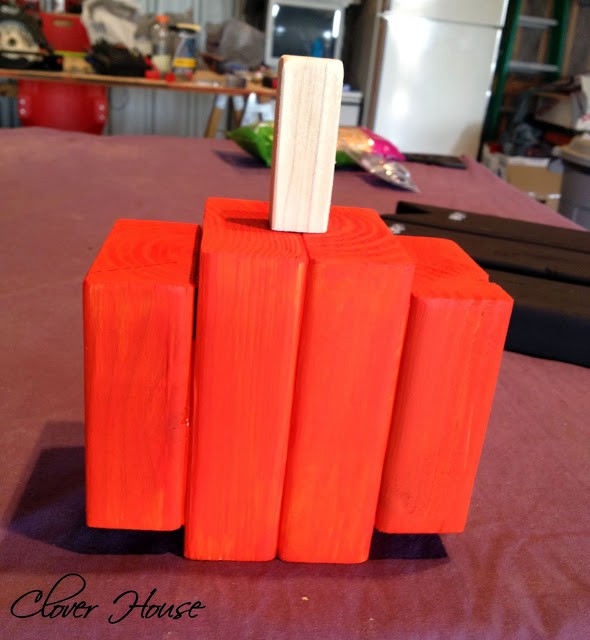
Add a wood stem. This one measures at 2 1/2″ tall by 1″ square. Glue it on the top middle. You can then distress the whole thing with the sander and add a raffia bow.
Like ✪ Share ✪ Be Awesome