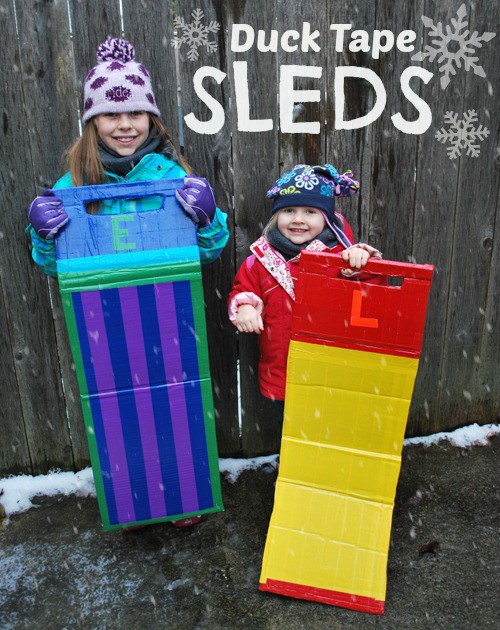
This awesome DIY project was brought to us by our friends at ArtzyCreations.com. For this project, the brand ‘Duck Tape’ was used, however ‘Duct Tape’ will work as well.
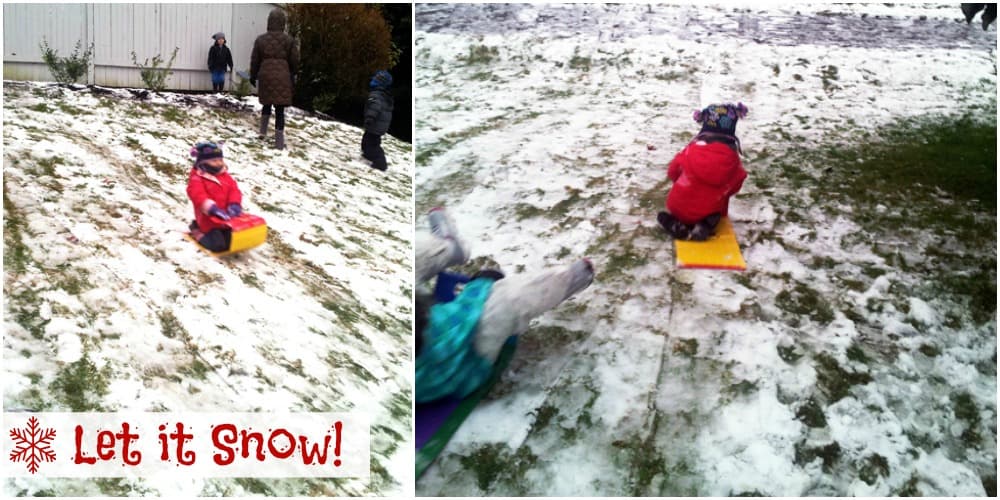
These sleds are surprisingly quite fast and the kids will love designing them and creating their own functional work of art.
#DIY
Here is what you will need:
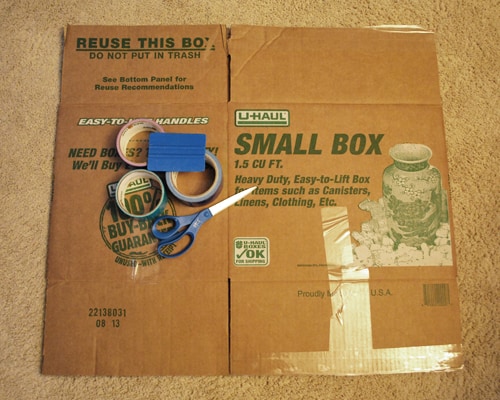
- Small Standard Size Moving Box (16″ X 12″ X 12″)
- Scissors
- Duck Tape (various colors and prints help make great custom designs)
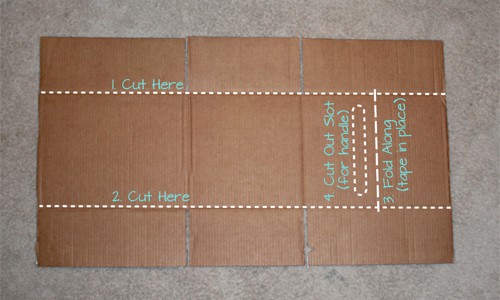
Begin by opening your box and trimming the sides off. Next fold the front in half to double it up. Tape the sides of the doubled area and then cut out a slot that is large enough to fit your kids gloves or mittens into.
Keep it close to the top, but not too close, or you will loose all of the strength of the cardboard and rip it. If you do cut it close don’t worry. You will just have to wrap it a few more times with Duck Tape.
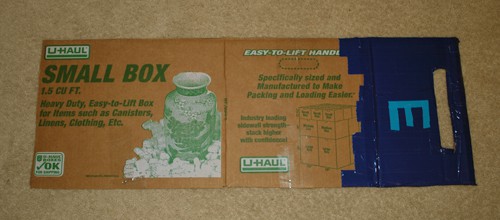
Wrap the front of the cardboard completely with the tape being sure to overlap the seam between what is the front and the bottom.
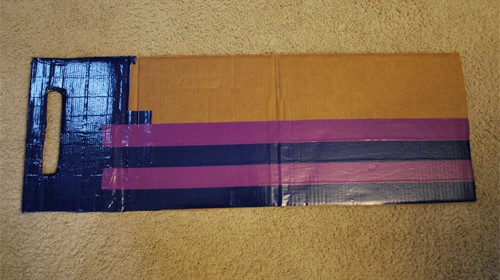
Next, cover the top and bottom of the cardboard. Be sure to cover it well so water doesn’t get into the cardboard. Be sure to run the tape lengthwise for maximum speed potential! 🙂
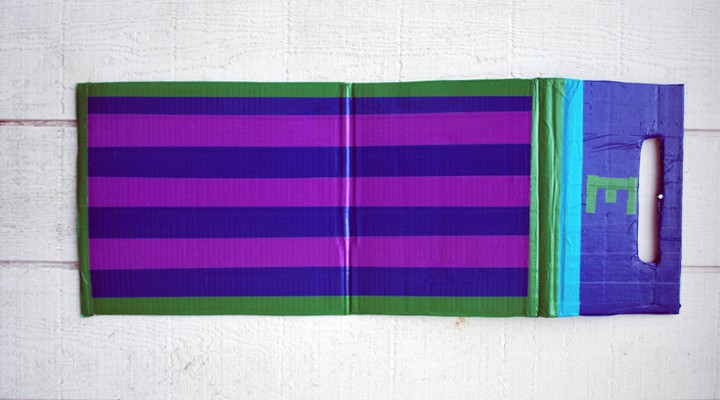
That’s It. It only took about 10 minutes per sled, and my daughters chose their own colors and have their initials too (not that we couldn’t tell who’s was who’s.)