Source: https://www.tasteofhome.com/
There is nothing more heavenly than biting into a juicy, tender steak. Beef is my go-to protein for any occasion: date night, celebrations or binge-watching Netflix. My steak has to be tender. My dog might like biting into a chew toy, but I don’t. I’m no Gordon Ramsey or Wolfgang Puck, but here’s a few tips to making a tender steak in 30 minutes:
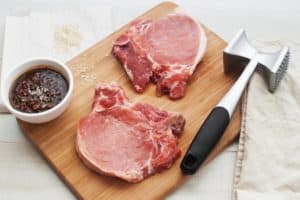
Start with the Meat
Remember: you can’t make a silk purse out of a sow’s ear. Tender steak starts at the base when selecting the cut and quality of your beef. Choose the right cut! Cuts that are fatty with great marbling are going to cook more tender than leaner meats (and also more forgiving. When in doubt: trust a butcher. FatCowGourmetMeats.com.au is one of my personal favorites for beautiful marbling and flavor.
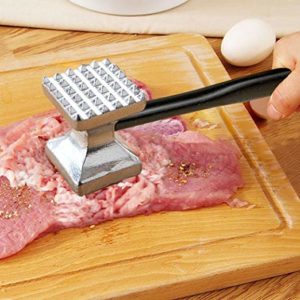
Tenderize the Meat
Source: https://images-na.ssl-images-amazon.com/
A meat mallet is your best friend when it comes to tough cuts like chuck steak. The mallet helps break down tough muscle fibers and help absorb flavor. I don’t recommend beating your meat in anger, but a few light whacks will do the trick. If you lack a mallet, just a few light scorings in a cross hatch pattern with a knife or a few fork pokes.
Give it a Soak
Flank or skirt steak are wonderful for grilling but need a nice marinade to keep it from becoming leather. Acidic ingredients in marinades like lemon juice or vinegar not just add flavor but also breaks down proteins. A nice 30 minute soak is enough to make all the difference! Kentucky Bourbon Skirt Steak is one example that I modify to a simple 20 soak then a few minutes on the grill. Be bold! Be Brave!
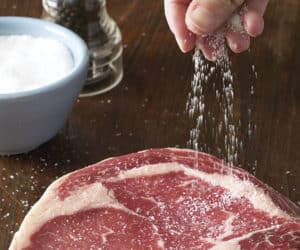
Salt is Your Friend
Source: https://s3.amazonaws.com/
Salt pulls the moisture out of the meat and creating a natural brine. The meat will take on a deeper red color. Even if it’s just for a few minutes, I like to sprinkle kosher salt on both sides and let the meat sit for 10 to 15 minutes before slapping on some final seasoning.
Room temperature Before Cooking
If you’re a lover of grass-fed beef or using lean cuts of mean, this is especially important. Lean meats do not have a lot of fat marbling to melt while cooking and are generally less forgiving if overcooked. After buying my meat from the butcher, if I plan to eat it that evening, I have it out and rest before I even heat my pan.
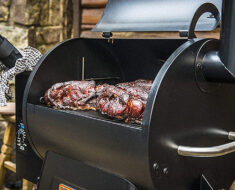
Match the Cut to the Cooking

Source: http://escali.com/
Every part of the cow has a special style of cooking that will bring out it’s best glory. Take the glorious flank steak again. Frying flank steak in a pan takes a long time and quickly toughen the meat. Again, refer to your butcher on the best suggestions or what cuts might be best for the style you’re more comfortable cooking with.
Baste with Butter
If you love to see color on your meat, toss a few pats of butter into your skillet along with a bit of oil. As the steak is cooking, baste it. The hot liquid will help cook the outside of the meat.
Rest Your Meat
Source: https://steakschool.com/
No matter how hungry, no matter how eager you are to eat: rest your meat! Repeat it. Rap it. Whatever you have to do to remember it. You can do everything right but if you slice right into your meat right out of the pan, all those juices will gush out, leaving you with a nice chunk of dry meat to grind through.
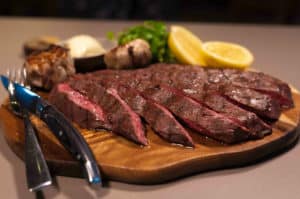
Cut Against the Grain
When the time to cut is upon you, make sure your first cut matters! You want to draw the knife across the meat in a way that long muscle fibers are cut. Cut crosswise against the fibers so they can come apart effortlessly. Your jaw muscles will thank you for this. If you’re a visual learner this guide might help.
The biggest tip I can give anyone is this: experiment. Rome wasn’t built in a day and mistakes is a part of learning. Experimenting with different techniques in preparation and cuts of meats is going to help you find what method works best for you.