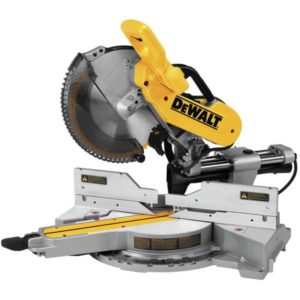
A DeWalt Miter saw is a great buy for any handyman who requires some serious power in their workshop to get the job done! However, regardless of how good we are at operating our machinery, maintenance is also very important in order to maintain the quality of our craftsmanship. Therefore, we have compiled a comprehensive guide, to show you how to change the blade on a DeWalt miter saw, once the current blade has worn out.
If you are using a different brand miter saw and you wish to change the blade, you can check their top 5 miter saw blades. The steps to change the blade on your miter saw is pretty similar for all brands.
Tools required
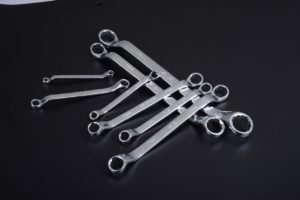
- Blade Wrench (Included in the box). If your blade wrench has been lost or misplaced just find one online and look for: DeWalt Blade Wrench. This is the most essential piece of our puzzle.
2. Heavy Duty Safety Gloves (to handle the blade and other sharp objects)

Hiclipart
3. Certified Safety Glasses (optional)

Wikimediacommons
All the steps!
Please follow these instructions carefully and make sure you maintain all safety standards in your workshop in order to avoid injury and to avoid damaging your hardware. Keep children clear of your workspace.
Step 1: Power Down Your Miter Saw

Pikrepo
Remove the DeWalt miter saw from the main power supply. This step should be noted when running maintenance operations on any power tool. It only takes one accidental slip up to lose an appendage. Always exercise caution!
Step 2: Safety is our number one priority!
Wear your safety gloves. The old blade will be a mix of sharp, blunt, and rusty edges. Keep the gloves on and avoid a painful tetanus shot. Save a couple of bucks in the process.
Step 3: Begin Disassembly
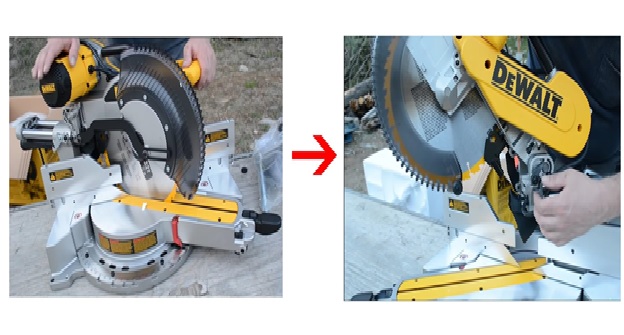
Now we begin the disassembly of your DeWalt miter saw blade. Lift your blade arm in an upright position and make sure you have clear access to the left side panel of your blade.
Step 4: Complete Disassembly
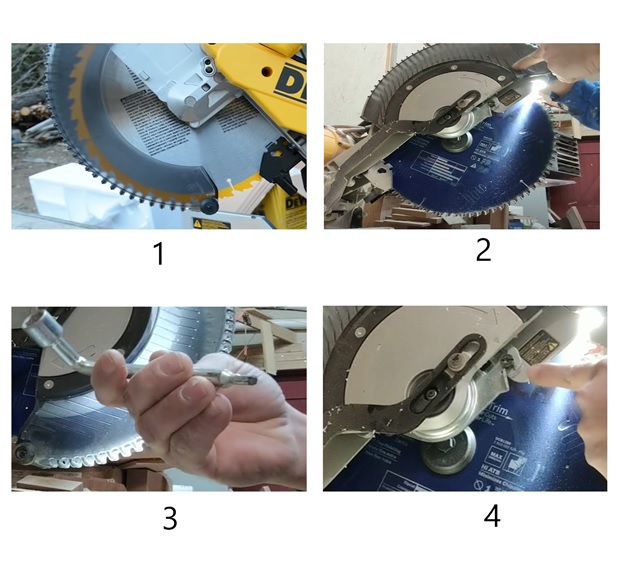
Take your blade wrench and use the end with the screwdriver to loosen the guard bracket screw. It is important to note that you mustn’t remove this bracket screw, only loosen it. After the screw is loosened raise the guard plate high enough to access the blade screw. You can rest the blade guard on the guard bracket screw and let it go.
Step 5: Hold the Spindle
Locate the spindle lock button on the right side of your blade. Keep it press down throughout this step because it will hold the blade in position, making it easier to unscrew.
Step 6: Out with the Old!
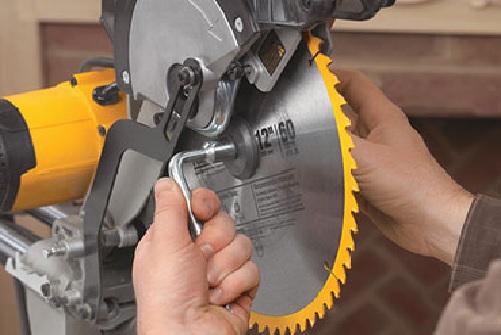
Use the other end of your wrench this time to loosen the blade screw. Remember that the blade screw has left-hand threads. So, it will loosen when spun clockwise and tighten when spun counterclockwise. After the blade screw is removed, remove the outer clamp washer, the blade, and the blade adapter. Leave the inner clamp washer on the spindle. Do not lose these parts because the new blade does not come with these.
Step 7: In with the New!
Remove the new blade from its packaging. Please use gloves because the fins on these new blades tend to be razor sharp. Place the new blade on the blade adapter if the blade requires one and then onto the spindle. Make sure to check the orientation of your blade because the fins are supposed to point downward as the blade rotates in a clockwise motion. Replace the outer clamp washer and then screw in the blade screw. Remember, the blade screw is left-hand threaded meaning, spin it counterclockwise to tighten and clockwise to loosen. While tightening the blade screw press down on the spindle lock to keep the blade from rotating and to ensure a tight seal.
The End:
Lower the blade guard and tighten the guard bracket screw back into place. You should be all set-up and ready to go. Before operating the saw, check the blade guard and make sure it operates as original. Plug in your device and continue your woodworking ventures.
Word of warning:
Always make sure your power tools are in proper working conditions both before and after operation. Wipe your miter saw with a clean cloth before and after use. Make sure the moving parts on your machine are not hindered by any foreign objects. Ensure that the blade guard on your DeWalt miter saw is always screwed tightly into place after blade change or reinstallation. Failure to do so opens you up to the risk of personal injury. Always wear appropriate safety gear during operation and maintenance of your power tools.
Thanks for reading and good luck on all your woodworking projects!