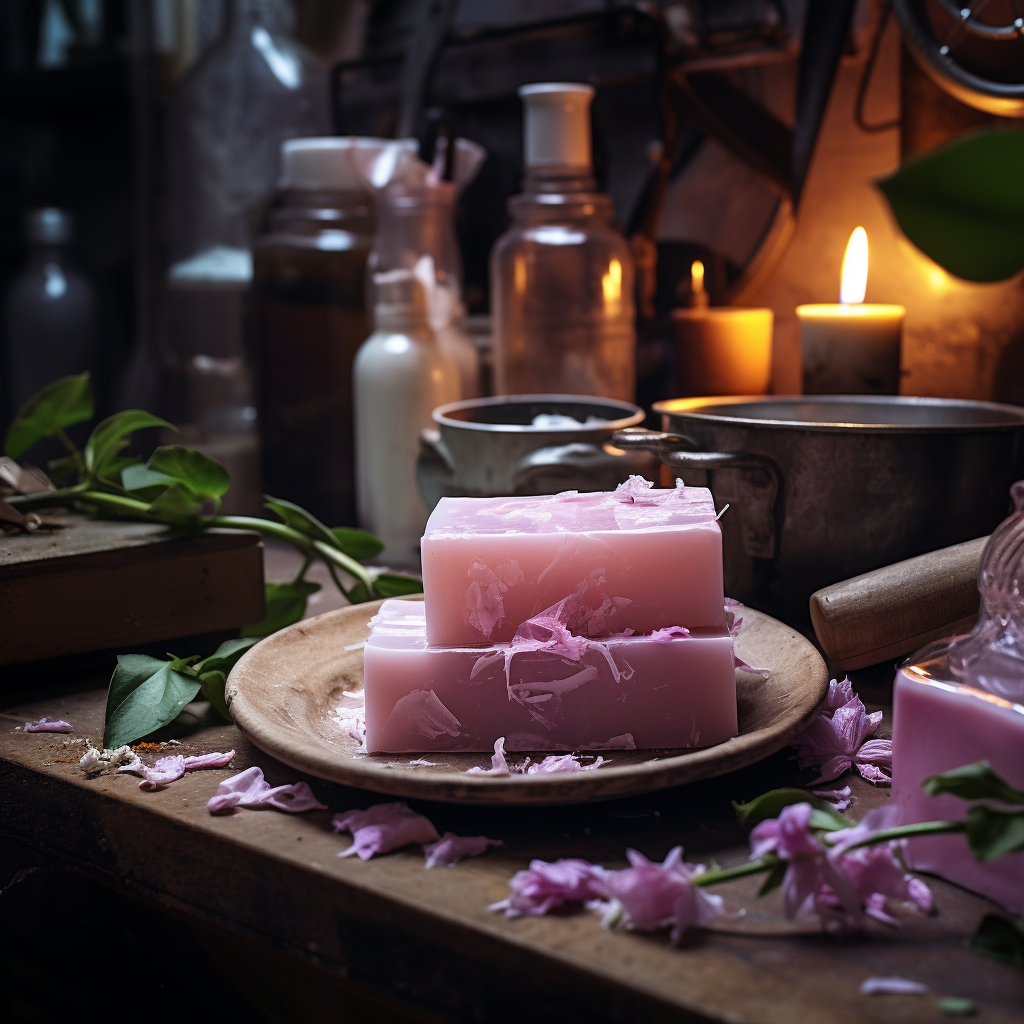
Forget bland store-bought bars, it’s time to unleash your inner alchemist and craft your own luxurious, all-natural soap! Making soap at home is surprisingly simple, offering a fun, creative outlet and the satisfaction of using something you made yourself. So, grab your aprons and spatulas, because we’re about to get sudsy!
The Science of Sudsing:
Before we dive into the recipe, let’s understand the basic chemistry. Soap making involves a chemical reaction called saponification, where fats or oils combine with an alkali (lye) to create glycerin and soap salts. Don’t worry, the process is much easier than the name suggests!
Gathering Your Arsenal:
Here’s what you’ll need to whip up your first batch of homemade magic:
- Fats and oils: Choose a blend of oils with different properties for a well-rounded bar. Popular options include coconut oil for hardness, olive oil for moisture, and shea butter for conditioning.
- Lye: This is the key ingredient that triggers saponification. Handle it with care, always wearing gloves and goggles when working with it.
- Distilled water: Use only distilled water to avoid unwanted minerals interfering with the process.
- Mold: Choose a mold that fits your desired soap shape and size. Silicone molds are easy to use and clean.
- Optional extras: Get creative! Add essential oils for fragrance, natural colorants like herbs or clays, or exfoliating ingredients like oats or coffee grounds.
Safety First:
Making soap involves working with lye, which can be dangerous if not handled properly. Here are some essential safety tips:
- Always wear gloves and goggles when handling lye.
- Work in a well-ventilated area.
- Never add water to lye, always add lye to water slowly.
- Use separate utensils for lye and other ingredients.
- Clean up thoroughly after each use.
The Art of the Batch:
Now for the fun part! Here’s a basic recipe to get you started:
Ingredients:
- 10 oz coconut oil
- 8 oz olive oil
- 4 oz shea butter
- 5.1 oz sodium hydroxide (lye)
- 11.2 oz distilled water
- Essential oils (optional)
- Colorants (optional)
Instructions:
- Melt the fats and oils: Gently melt your chosen fats and oils in a double boiler.
- Prepare the lye solution: In a separate heat-resistant container, slowly add the lye to the water, stirring constantly until fully dissolved. Caution: The mixture will get hot and emit fumes.
- Combine and blend: Once both mixtures are around 100°F, slowly add the lye solution to the oils, blending continuously with an immersion blender.
- Trace and mold: Continue blending until the mixture reaches “trace,” a thick, pudding-like consistency. Add your desired essential oils and colorants at this stage. Pour the mixture into your mold and let it set for 24-48 hours.
- Unmold and cure: Carefully unmold your soap and cut it into bars. Place them on a wire rack in a well-ventilated area to cure for 4-6 weeks. This allows the saponification process to complete and the soap to harden.
Voila! You’ve successfully conjured up a batch of your very own homemade soap. Bask in the pride of creation, and enjoy the luxurious lather, knowing you crafted it with your own two hands.
Beyond the Basics:
As you gain confidence, experiment with different oils, colors, and techniques. Try the melt-and-pour method for quicker results, or explore cold process soap making for more customization. The possibilities are endless!
Remember:
- Be patient, soap making takes time and practice.
- Don’t be afraid to experiment, that’s where the fun lies!
- Most importantly, have fun and enjoy the satisfaction of creating something beautiful and useful from scratch.
So, get ready to unleash your inner soap alchemist and embrace the sudsy satisfaction of homemade goodness! You might just surprise yourself with the magic you can create.
Happy crafting!


