


With summer in full swing and many hot days ahead of us, an air conditioner is a must! If you live in a place where you are unable to have an air conditioner, then you are going to want to check out this easy DIY air conditioner project below!
The supplies that are needed are the following:
- Two 16-to-20-ounce plastic bottles
- Precision knife
- Handheld tapered reamer or a drill bit that can cut through plastic
- Medium-sized fan
- Thin metal wire
- Pliers
- Ice cubes

Now here is how to put it all together!
1. Using your precision knife carefully circle it around 150-degrees about 1-inch up from the base of the bottle. Don’t cut the entire bottom off! There should still be a small piece of plastic that has the lower portion attached.
2. Warm up your drilling bit and then starting at the base begin making small holes in the plastic all the way up to the mid-section of the bottle. Each hole should be about one-quarter-inch apart from the next.
Repeat steps one and two with the second plastic bottle.
4. Once finished, you can attach both bottles on either side of the fan and secure it by twisting metal wiring through the holes at the base area close to the cap. Each bottle should be in an upside-down position.
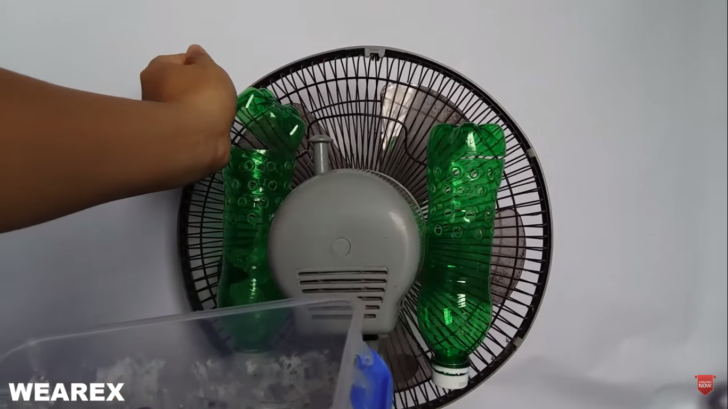
5. Load ice cubes into your plastic bottles and fill them to the top.
Once completed you can switch on the fan and immediately begin experiencing the rush of cool air! While this DIY project definitely will be a good temporary solution, if you want something that lasts a bit longer you can check out the tutorial for a longer-lasting air cooling system.
Here is a step by step video on how to construct the DIY air conditioner.