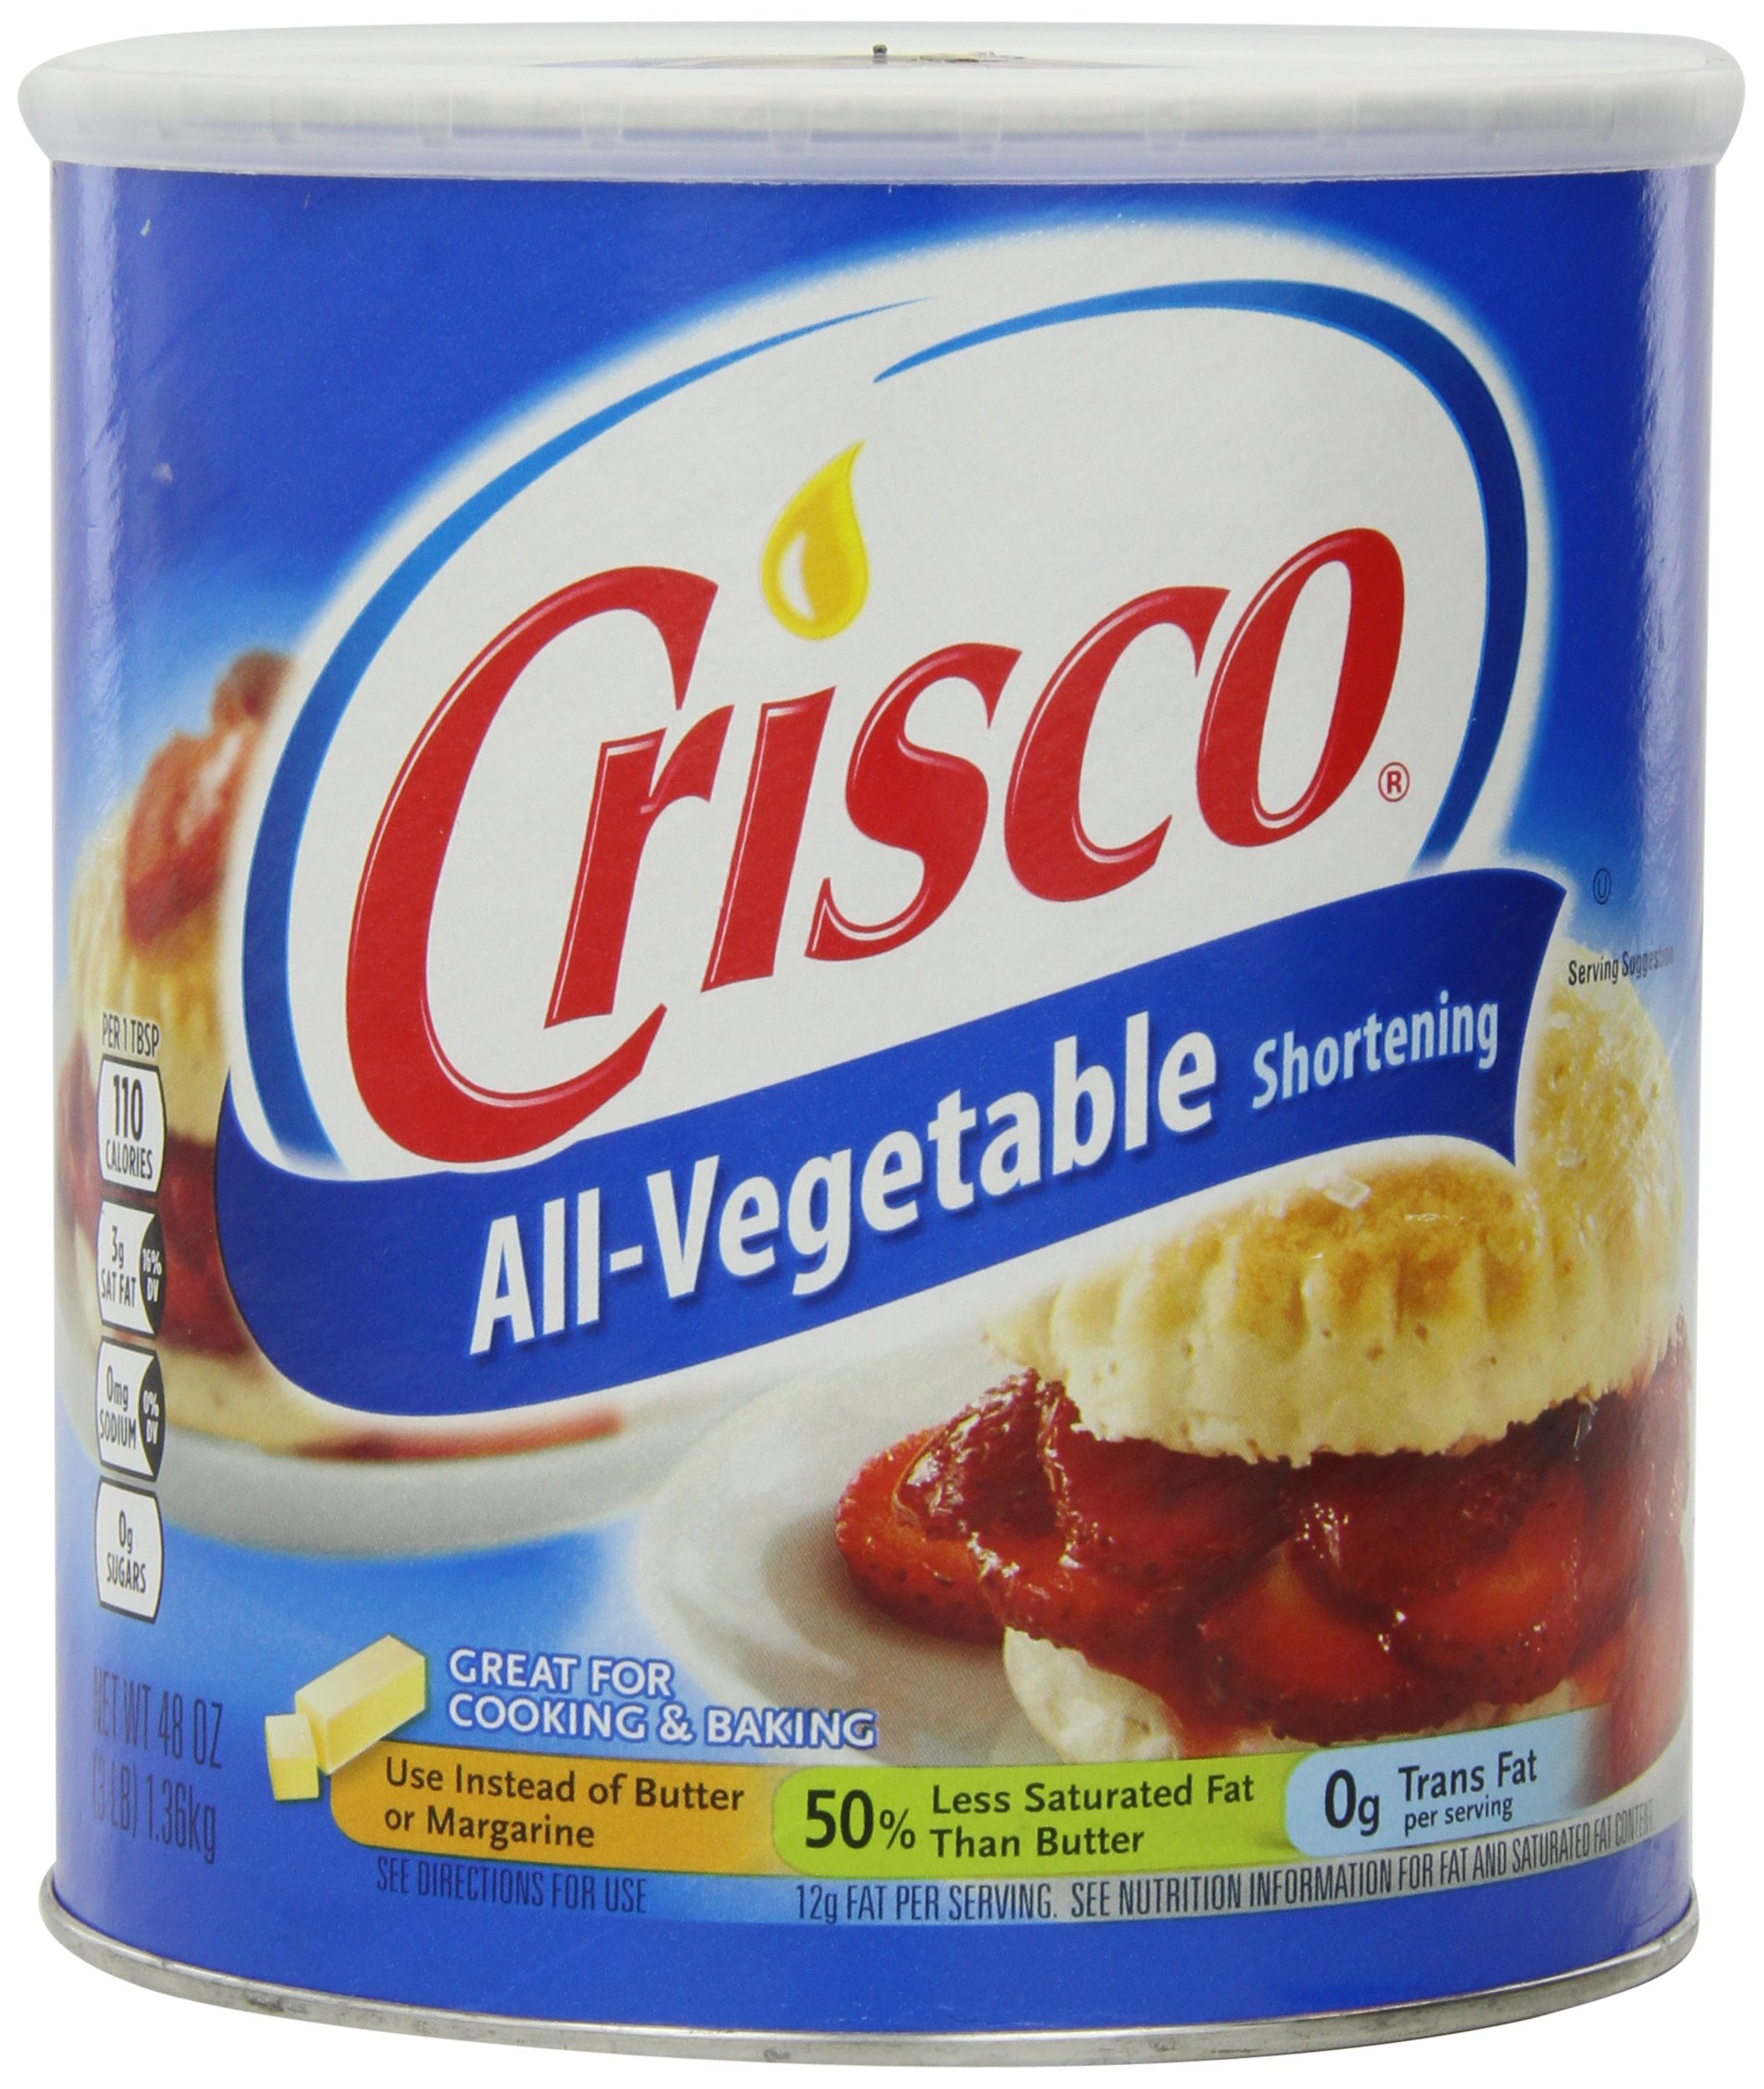
Candles have always held a special place in our homes, adding warmth and ambiance to any space. While there are countless options available on the market, crafting your own candles can be a rewarding and cost-effective endeavor. If you’re looking for candles that burn longer and emit a soft, comforting glow, making Crisco candles might be the perfect choice. In this article, we’ll guide you through the process of creating these long-lasting, budget-friendly candles.
What You’ll Need:
1. Crisco Shortening: The star of the show, Crisco, is a vegetable shortening that serves as the base for these candles. It’s readily available in most grocery stores.
2. Candle Wicks: You can purchase pre-made candle wicks at a craft store, or make your own by dipping twine or cotton string in melted wax and letting it cool.
3. Essential Oils (Optional): To add a pleasant scent to your candles, choose your favorite essential oil. Popular options include lavender, vanilla, or citrus scents.
4. Heat-Resistant Containers: You’ll need containers for your candles. Mason jars, glass jars, or tin cans work well.
5. Double Boiler or Microwave: You’ll need a way to melt the Crisco safely. A double boiler on the stovetop is preferable, but you can also use a microwave-safe bowl.
6. Stirring Stick or Spoon: For mixing the Crisco and essential oils.
7. Wick Holder or Chopsticks: Something to hold the wick in place while the candle cools.
Step-by-Step Guide:
1. Prepare Your Containers:
– Clean and dry the containers you plan to use for your candles. Ensure they are heat-resistant and can withstand prolonged exposure to heat.
2. Cut the Wick:
– Cut the wicks to the desired length, making sure they’re a couple of inches taller than the containers.
3. Secure the Wick:
– If you’re using a wick holder, center the wick at the bottom of your container. If not, wrap the top of the wick around a chopstick and lay it across the container’s opening to keep it in place.
4. Melt the Crisco:
– In a double boiler or microwave, melt the Crisco until it becomes a clear liquid. If using a microwave, heat it in short intervals, stirring frequently.
5. Add Essential Oils (Optional):
– If you want scented candles, add a few drops of your chosen essential oil to the melted Crisco and stir well.
6. Pour the Mixture:
– Carefully pour the melted Crisco into your prepared containers, covering the wick completely.
7. Allow to Cool:
– Let the candles cool at room temperature for several hours, or until the Crisco has solidified completely.
8. Trim the Wick:
– Once the candles have cooled and solidified, trim the wick to your desired length, leaving about half an inch above the surface.
9. Light and Enjoy:
– Your homemade Crisco candles are ready to light! Enjoy the soft, soothing glow and long-lasting burn.
Crafting your own Crisco candles can be a fun and cost-effective way to create long-lasting sources of light and ambiance in your home. These candles are not only simple to make but also have the added benefit of burning for an extended period. Whether you’re looking to add a cozy atmosphere to your living space or create a thoughtful handmade gift, Crisco candles are an excellent choice. So, gather your supplies, get creative with scents, and bask in the warm, inviting glow of your homemade candles.


